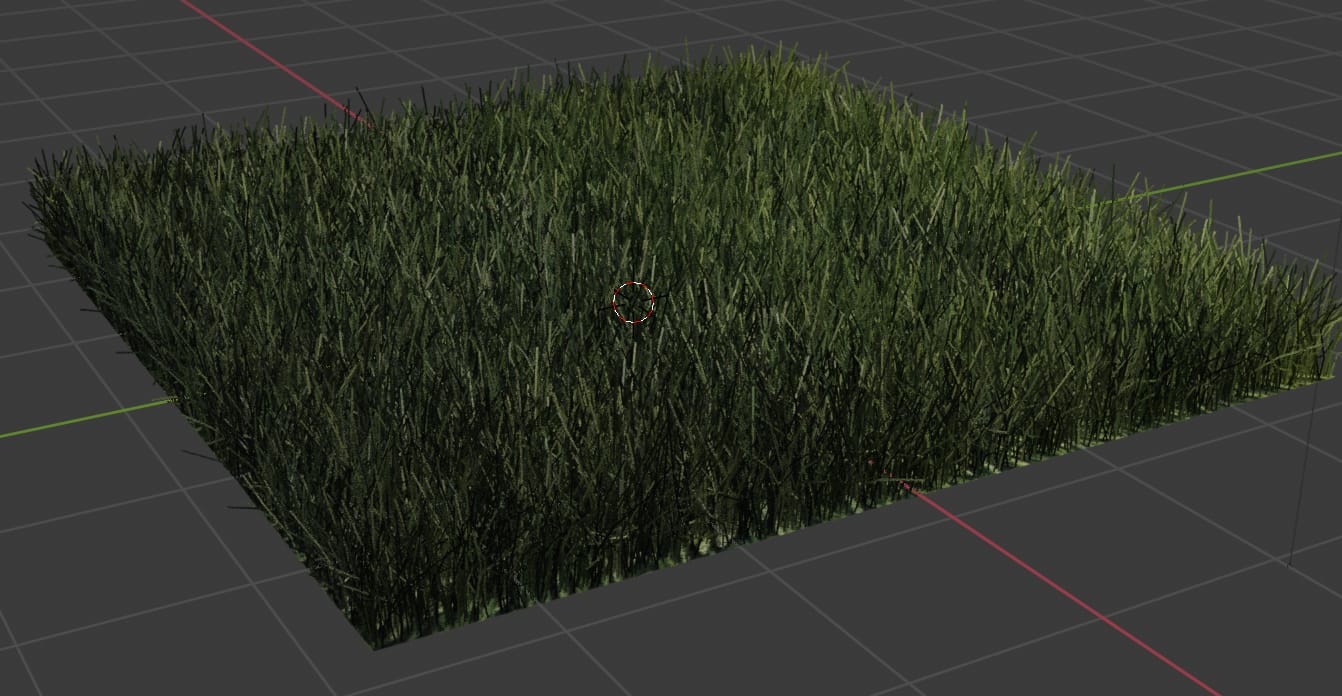
How to Create Realistic Grass
Step 1: Creating the Plane

- Delete the Default Cube
Start by deleting the default cube. Click on the cube, press X and confirm.
- Add a Plane
Press Shift+A > Mesh > Plane to create a flat surface.
- Scale the Plane
Press S and drag to scale the plane to your desired size. This will serve as the base for your grass.
Step 2: Adding a Grass Texture Image

- Download a Grass Image Texture:
Find a realistic grass texture online
- Assign a Material
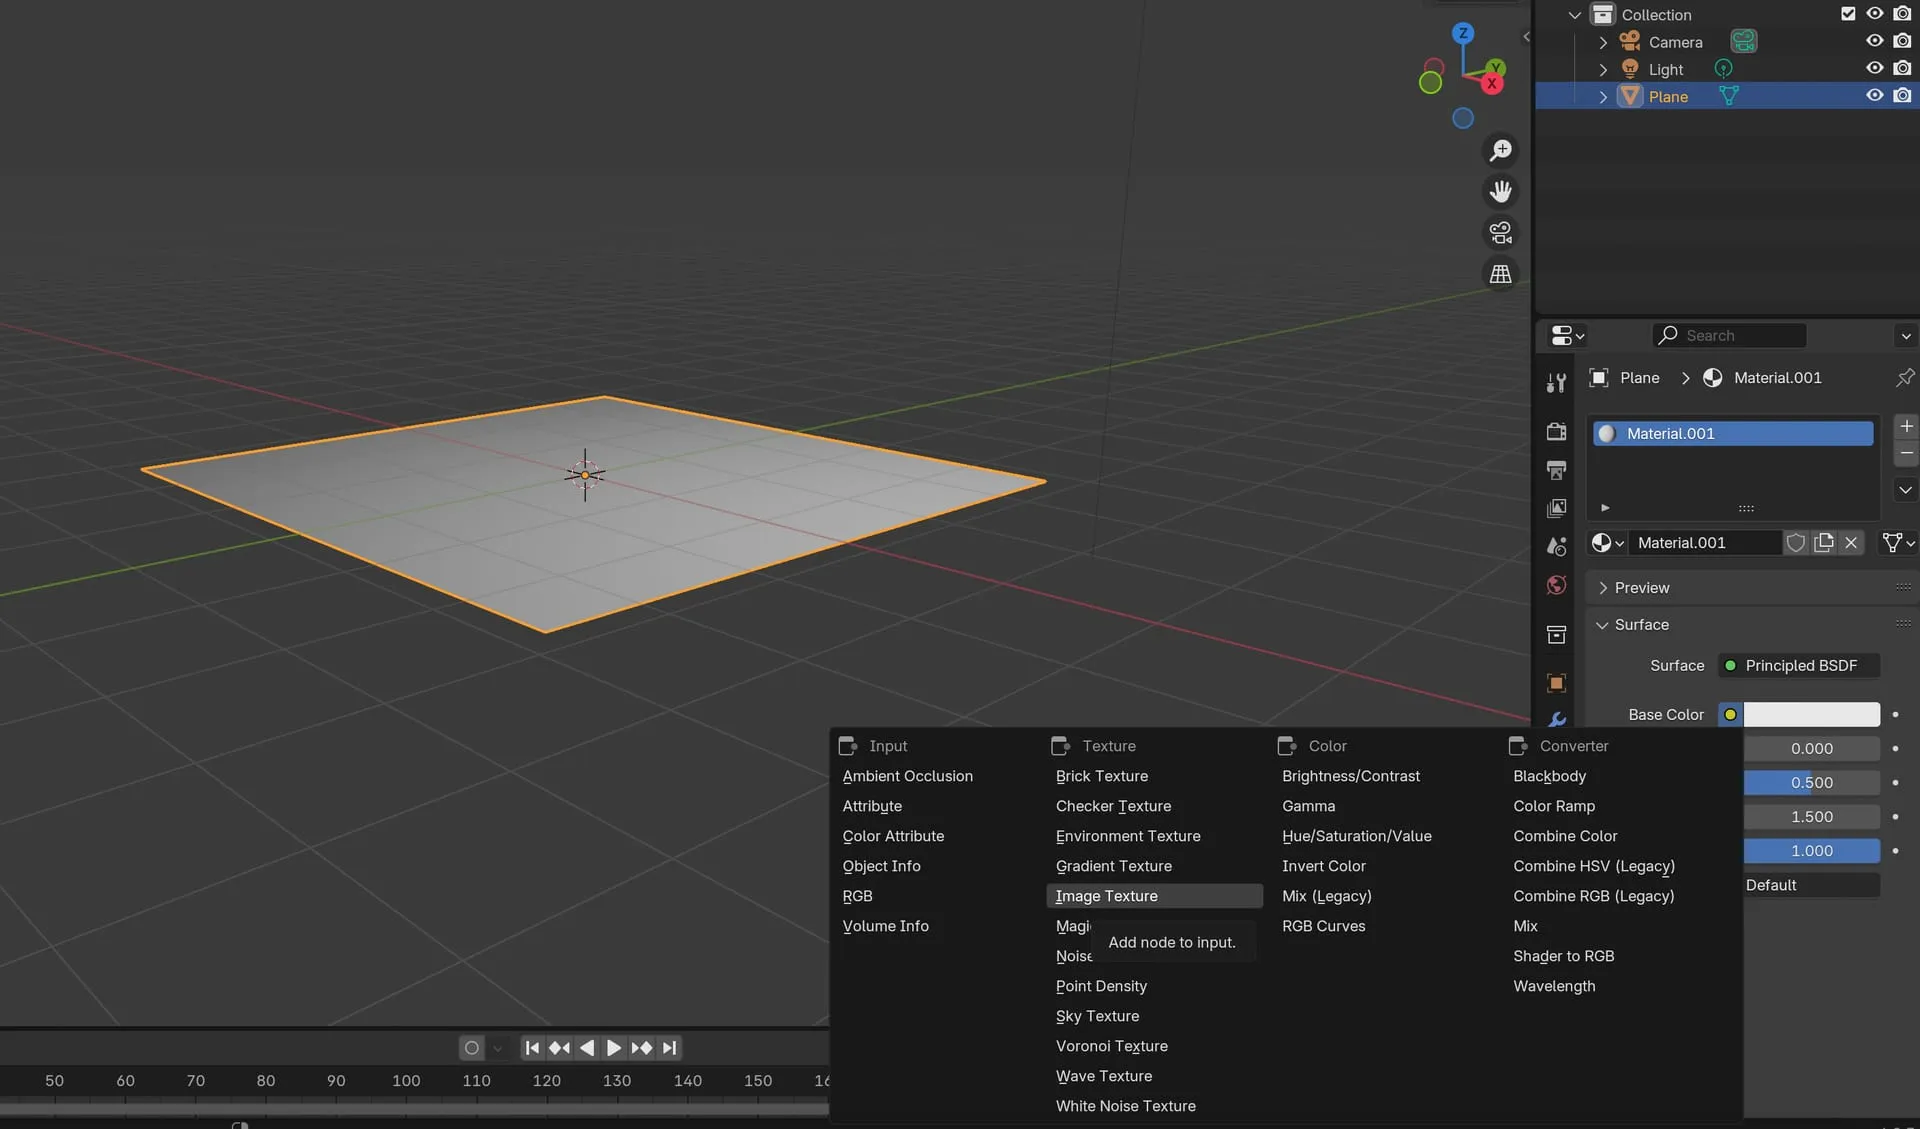
Click the Material Properties tab (sphere icon) in the sidebar. Click New to create a new material.
- Apply the Image Texture
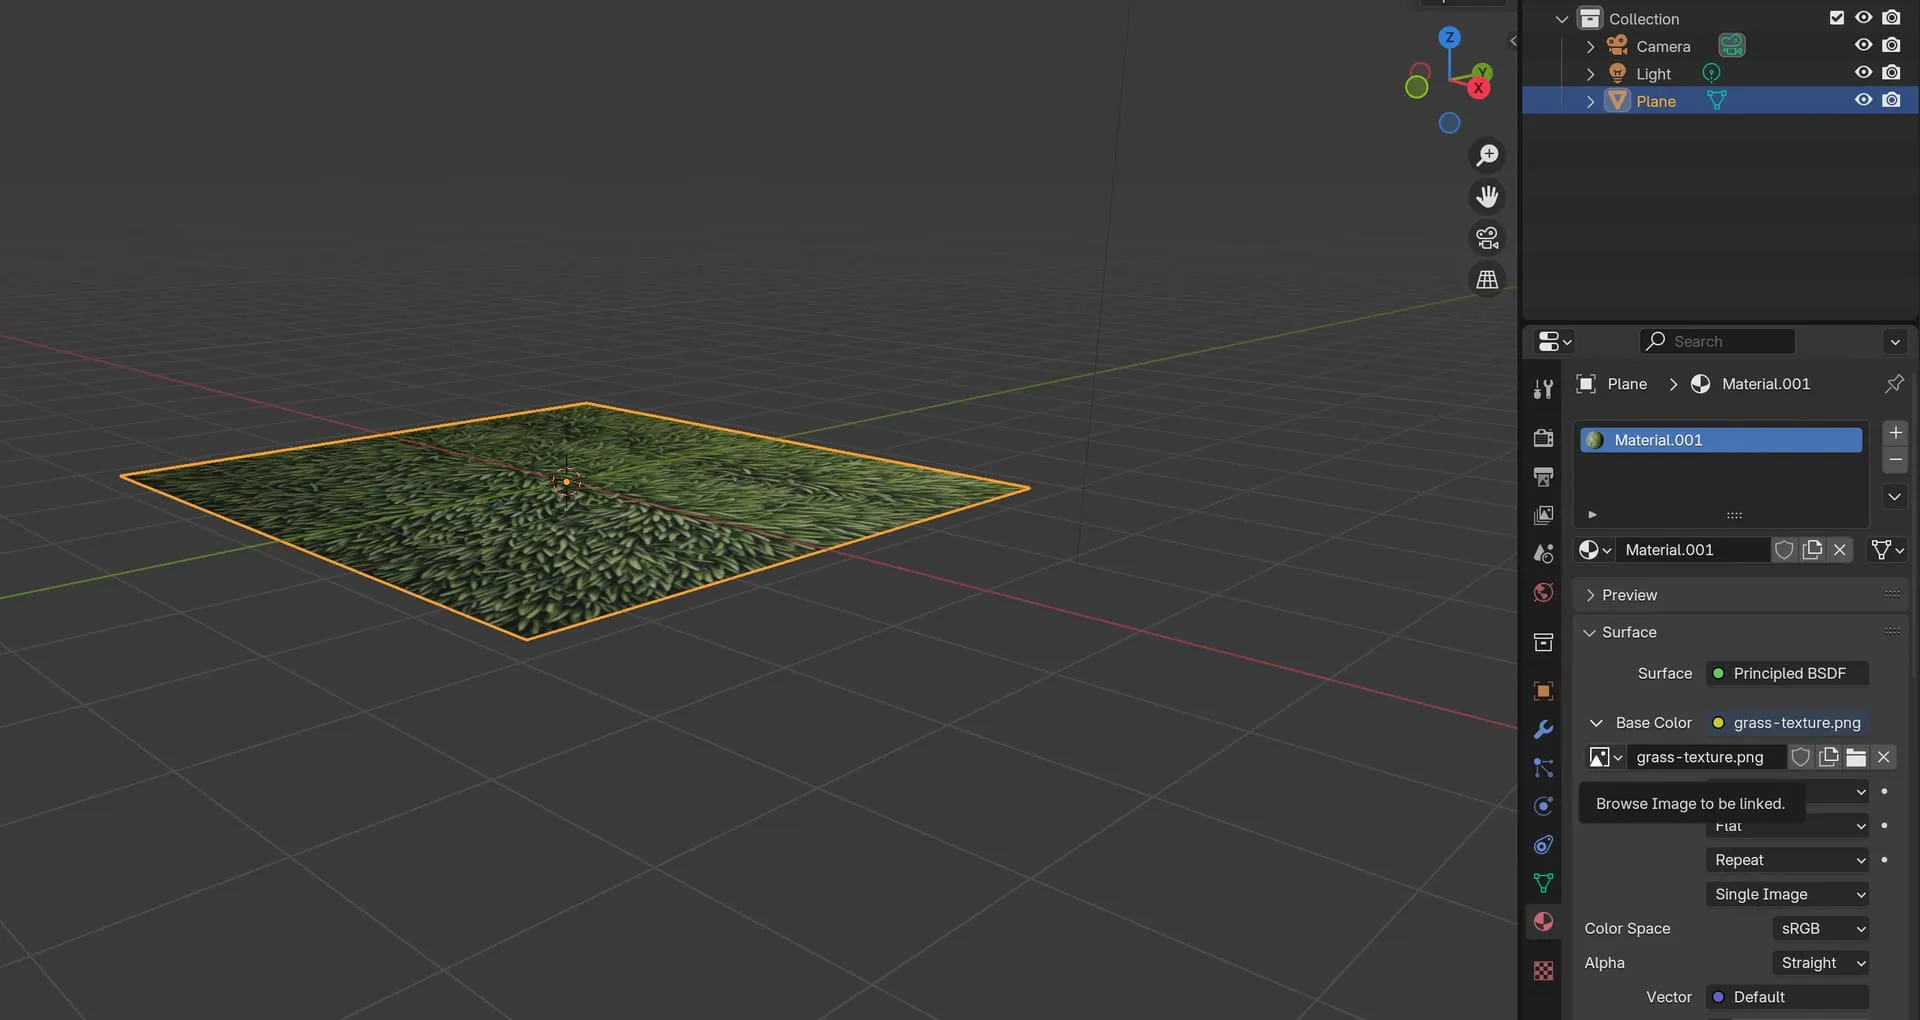
Beside Base Color, click the circle icon and select Image Texture. Click Open and load your grass texture image.
- Adjust the Viewport
If the texture doesn’t display, go to the top-right corner of the 3D Viewport and select the Material Preview (shaded sphere) mode.
Step 3: Adding a Particle System
- Navigate to the Particle Properties
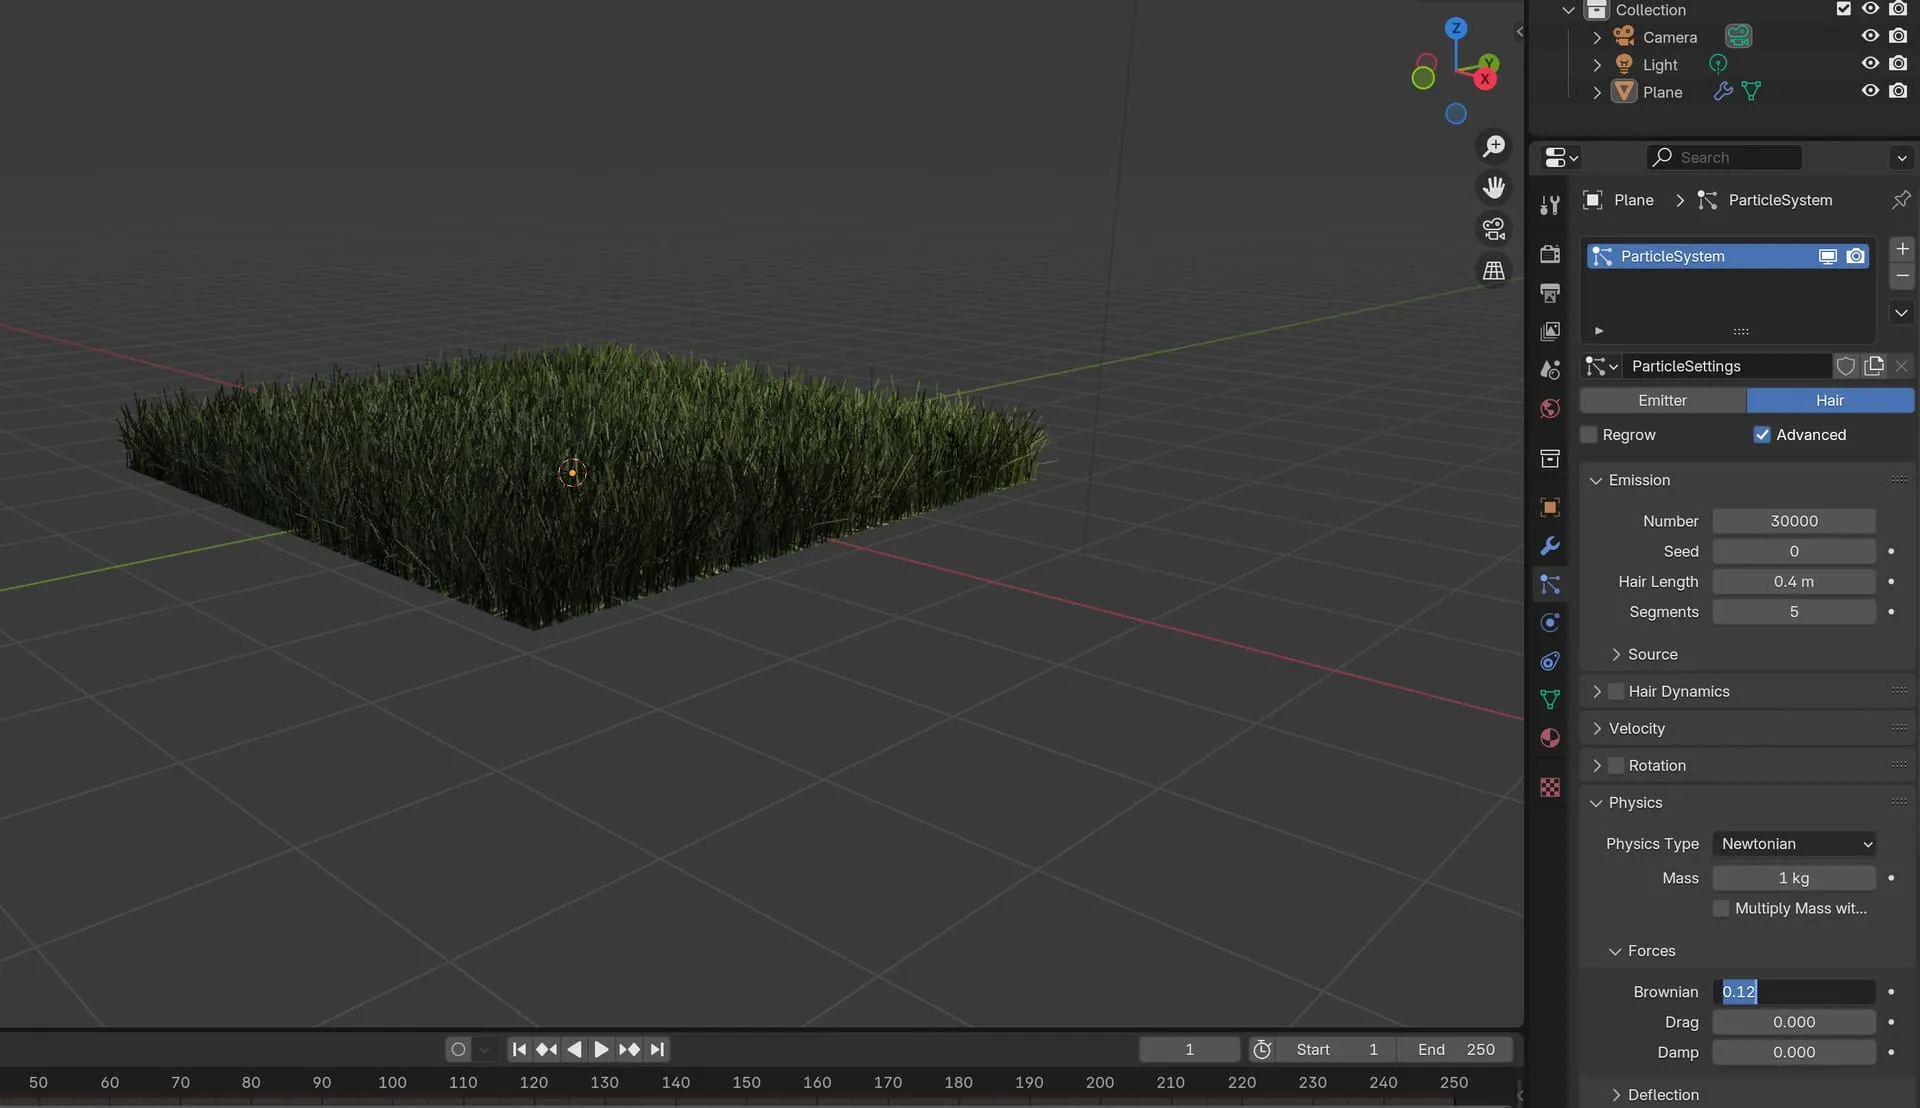
Click the Particle Properties tab (fork-like icon with three strands). Click the + button to create a new particle system.
- Switch to Hair Mode
Change the particle type from Emitter to Hair to create grass blades.
- Adjust the Hair Settings
Under Emission, set Number to
30,000(for the number of grass blades). Change the value for Hair Length:0.4mto reduce the height of the grass blades.

Step 4: Making Grass Look More Realistic
- Enable Advanced Settings
Check the Advanced box under the Hair settings to unlock additional options.
- Adjust Physics
Scroll down to Physics and look for the Forces section. Set Brownian to 0.12. This adds a subtle random twist to the grass, making it look more natural and less uniform.