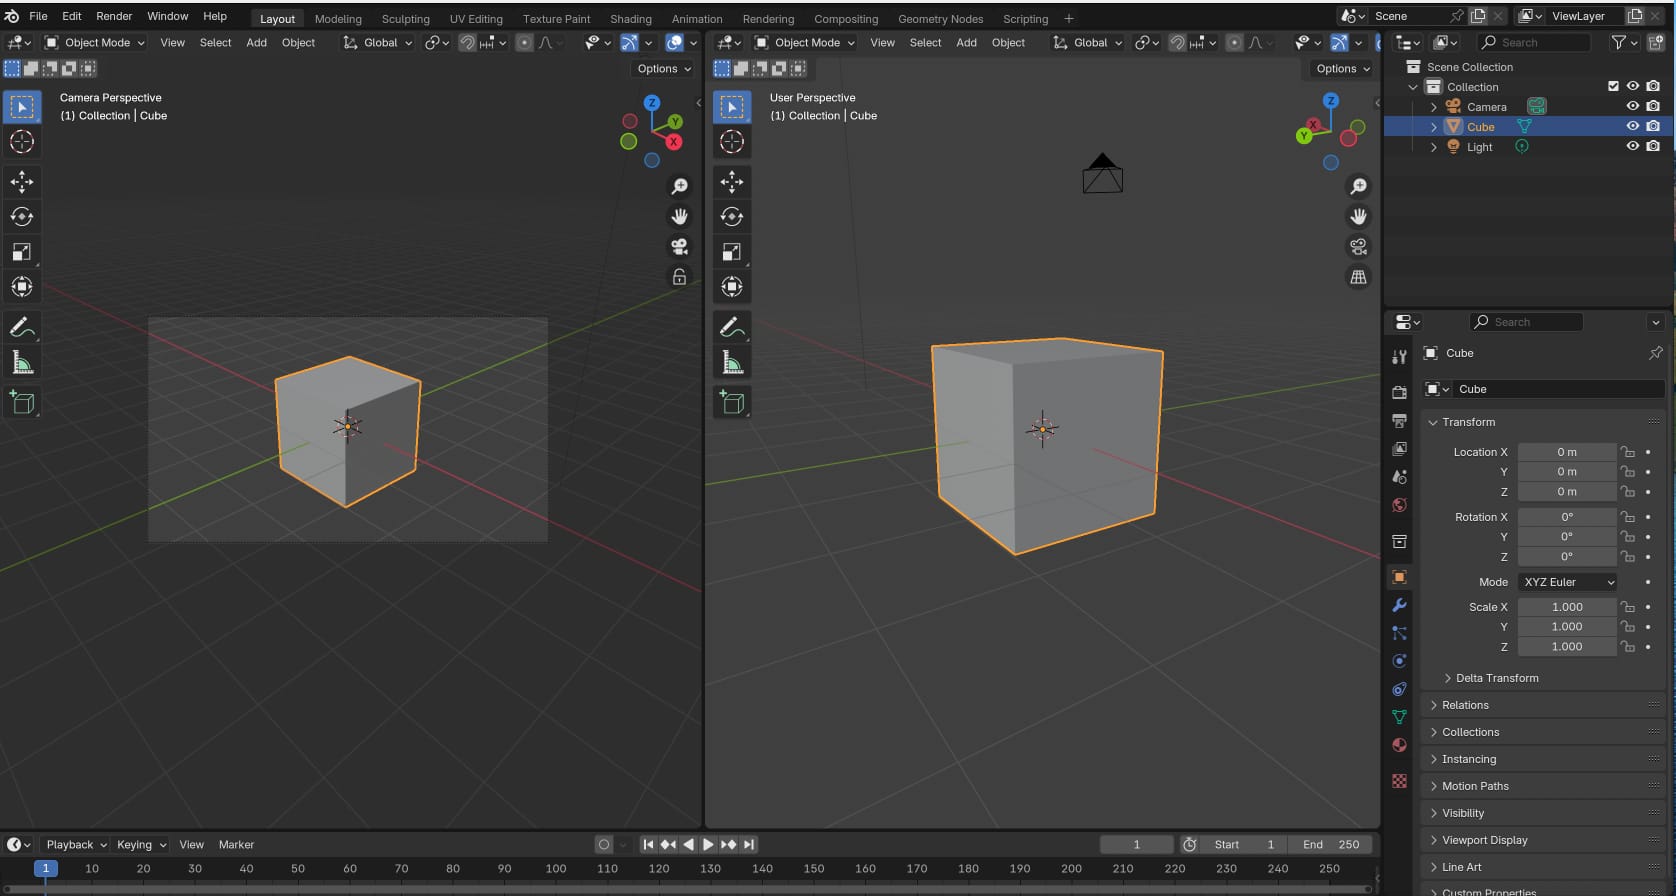
How to Split the Screen in Blender
Splitting the screen allows you to work more efficiently by providing access to multiple tools and views at once. For example, you can:
- View your 3D model from different perspectives simultaneously.
- Open the Shader Editor alongside the 3D Viewport for material adjustments.
- Edit an animation in the Timeline while monitoring changes in the Camera View.
- Access outliners, properties, and editors without toggling between tabs.
Splitting the Screen
To split the screen, follow these steps:
-
Hover Over the Border
Move your cursor to the edge of an area in the Blender interface. The cursor will change into a thin crosshair. You can also drag from the corner to split the screen. -
Drag
- Left-click and drag the crosshair inwards into the area. Release the mouse button to create the new split.
-
Position the Split
Adjust the position of the new split by dragging the dividing line where you want it.
Joining Areas Back Together

If you’ve split your screen and want to revert it, you can join areas:
-
Hover Over the Divider
Move your cursor to the border between two areas until the crosshair appears. -
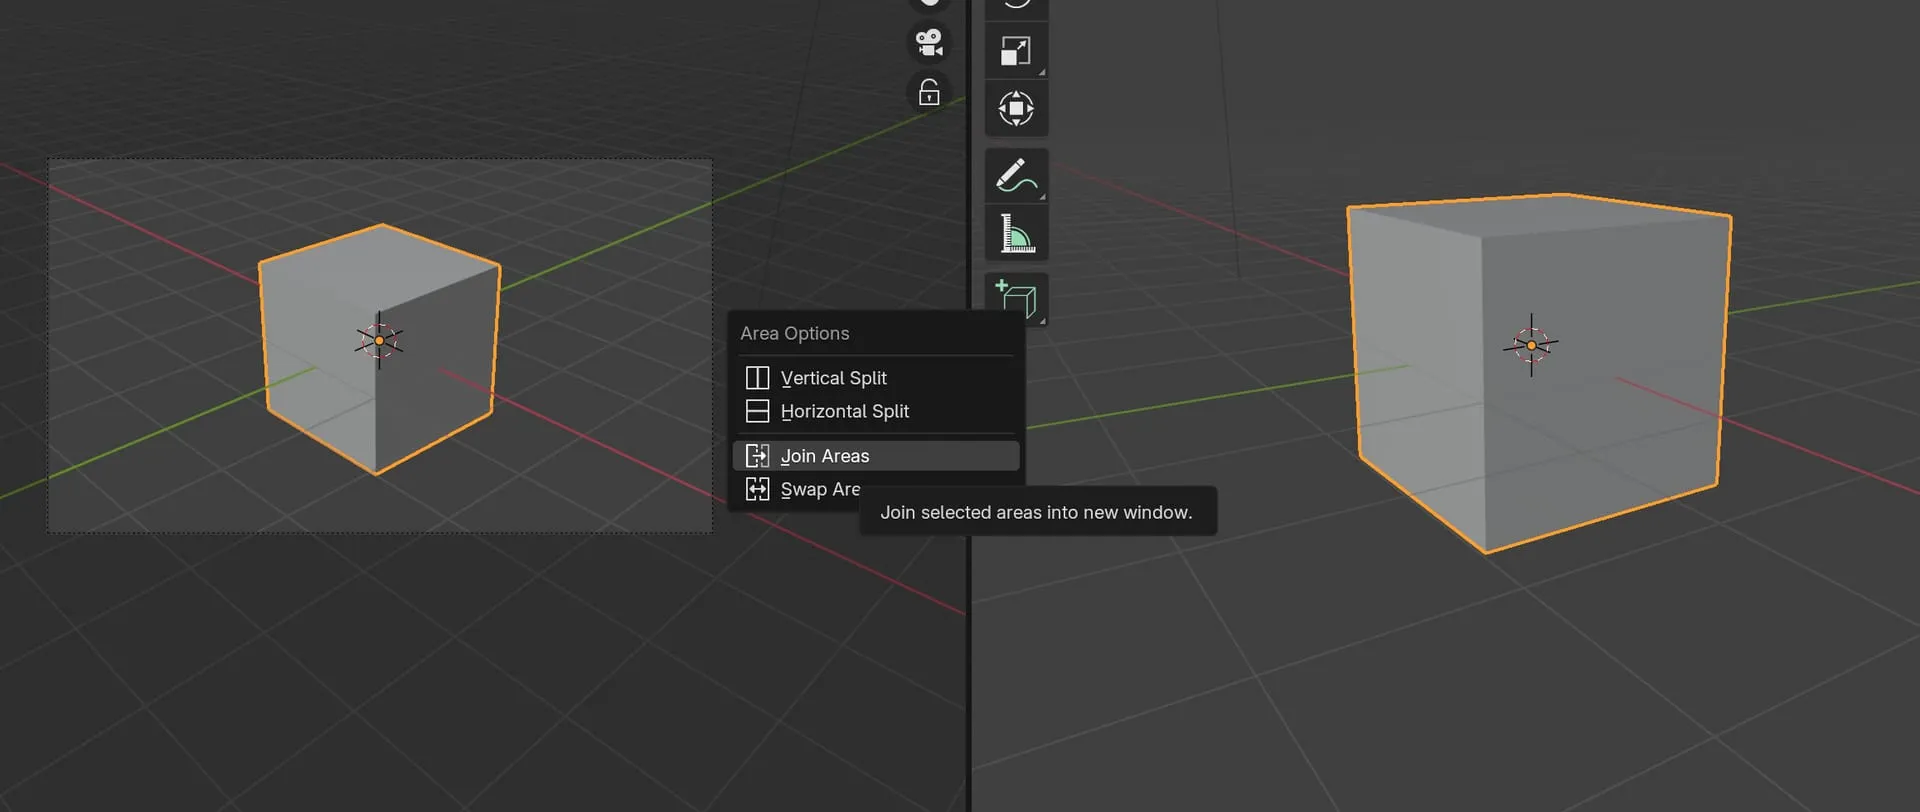
Right-Click and Choose Join
- Right-click and select “Join Areas” from the context menu.
- Alternatively, drag one area into another by clicking and dragging the divider line towards the area you want to join.
-
Choose the Direction
Blender will prompt you to select which area to retain. The remaining area will absorb the other.