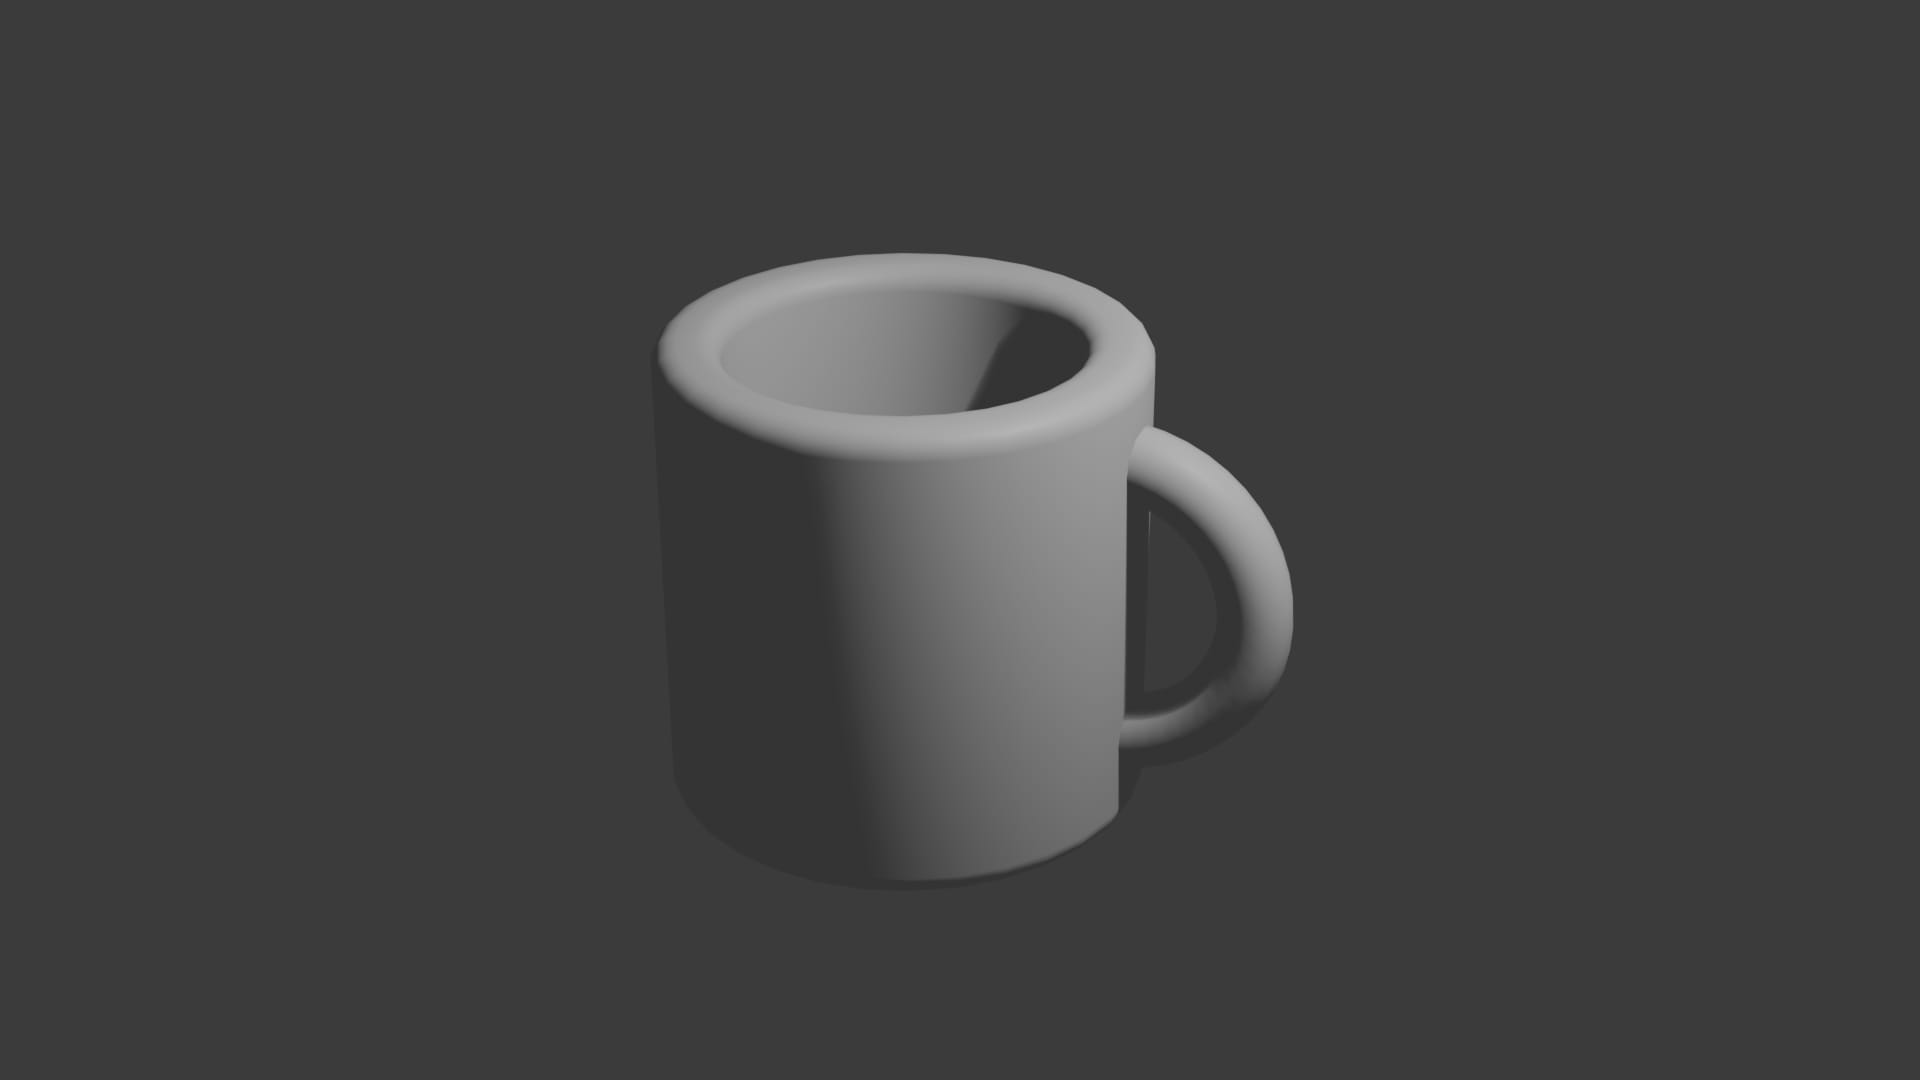
Modeling a Coffee Cup
We’ll be using the cup we built in the last post and adding a handle to it. Let’s model the handle first.
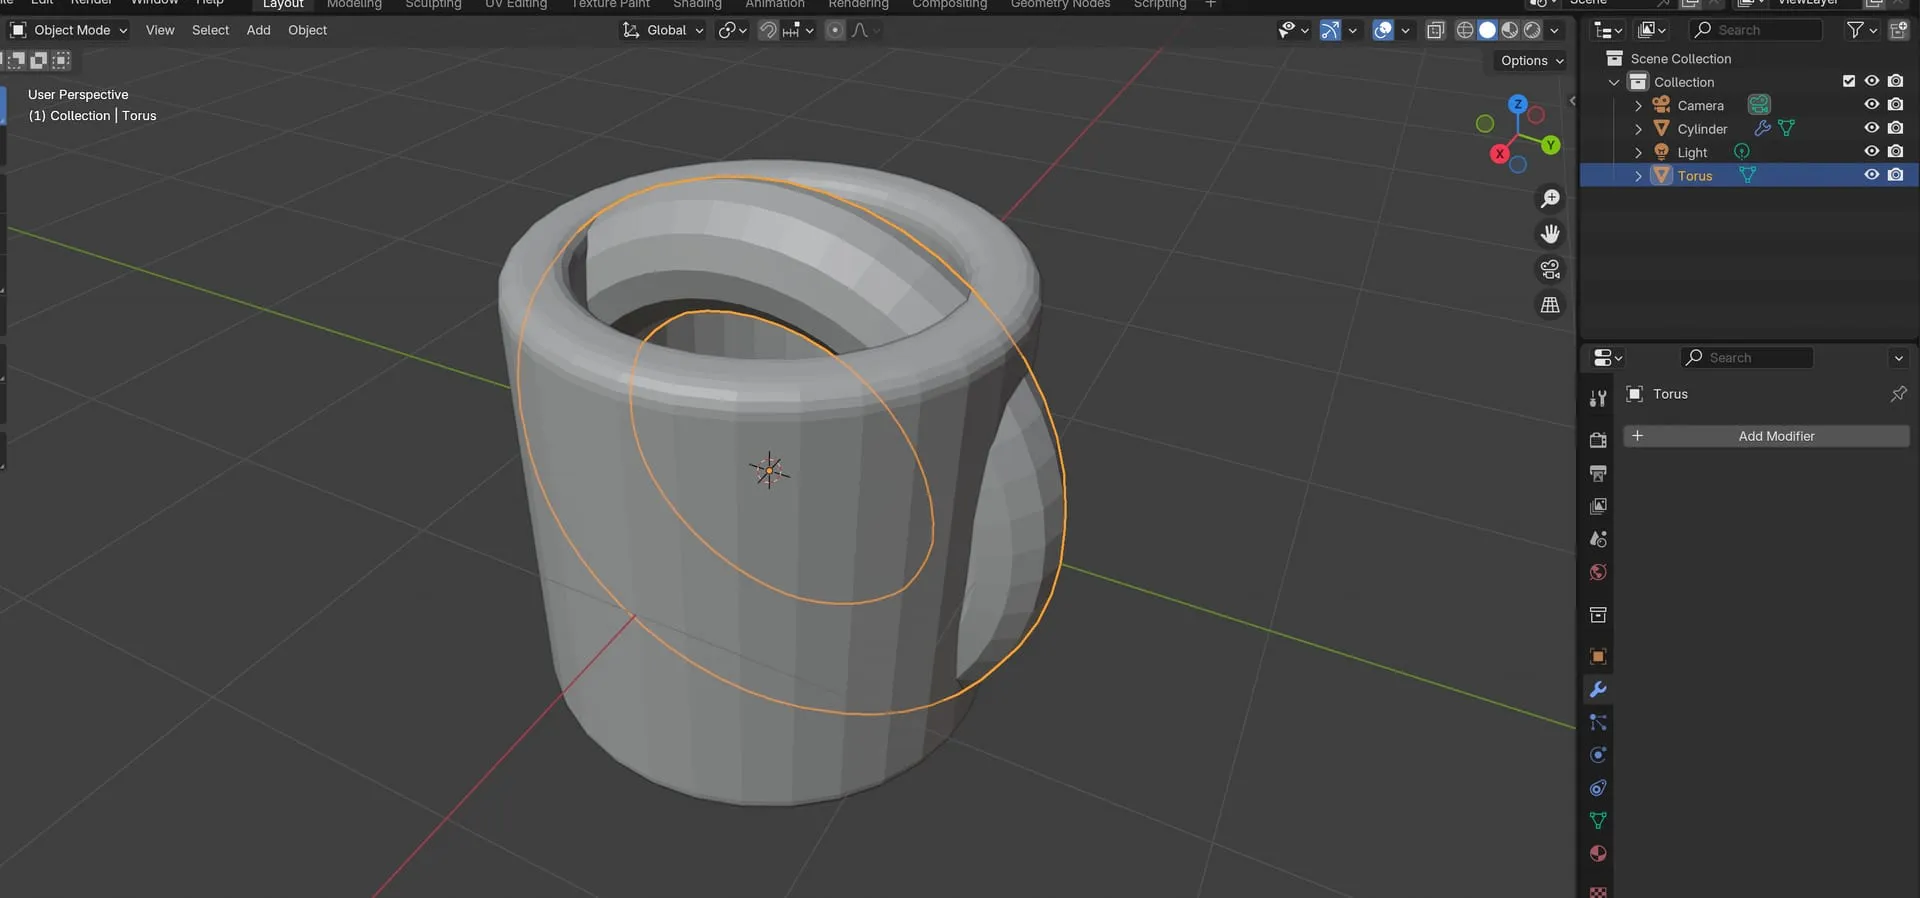
Press Shift+A > Mesh > Torus to create a new torus. Click on the new object and press R to rotate the object 90 degrees.

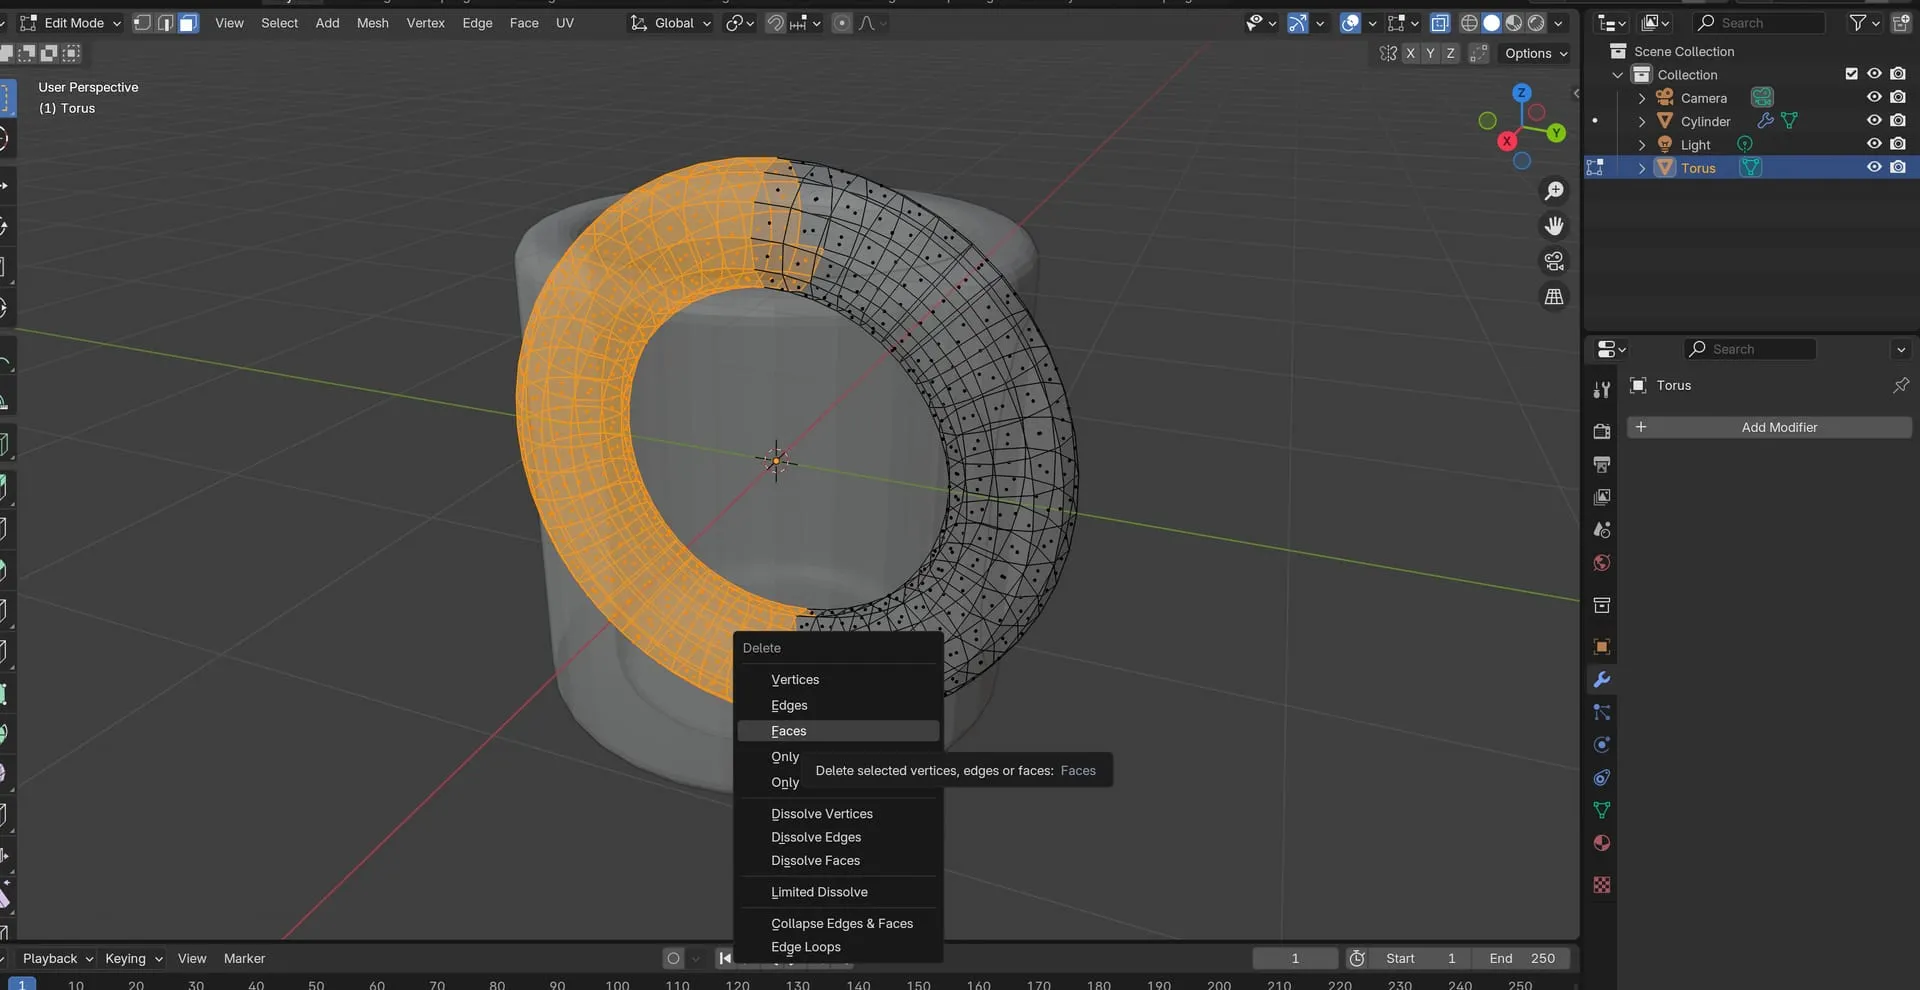
Press Tab to switch into Edit mode. Drag your mouse over the geometry and select half of the torus. Press X > Delete Faces. You can make this easier to see by selecting ‘Toggle X-ray’ (button with two overlapping squares in the top right corner).

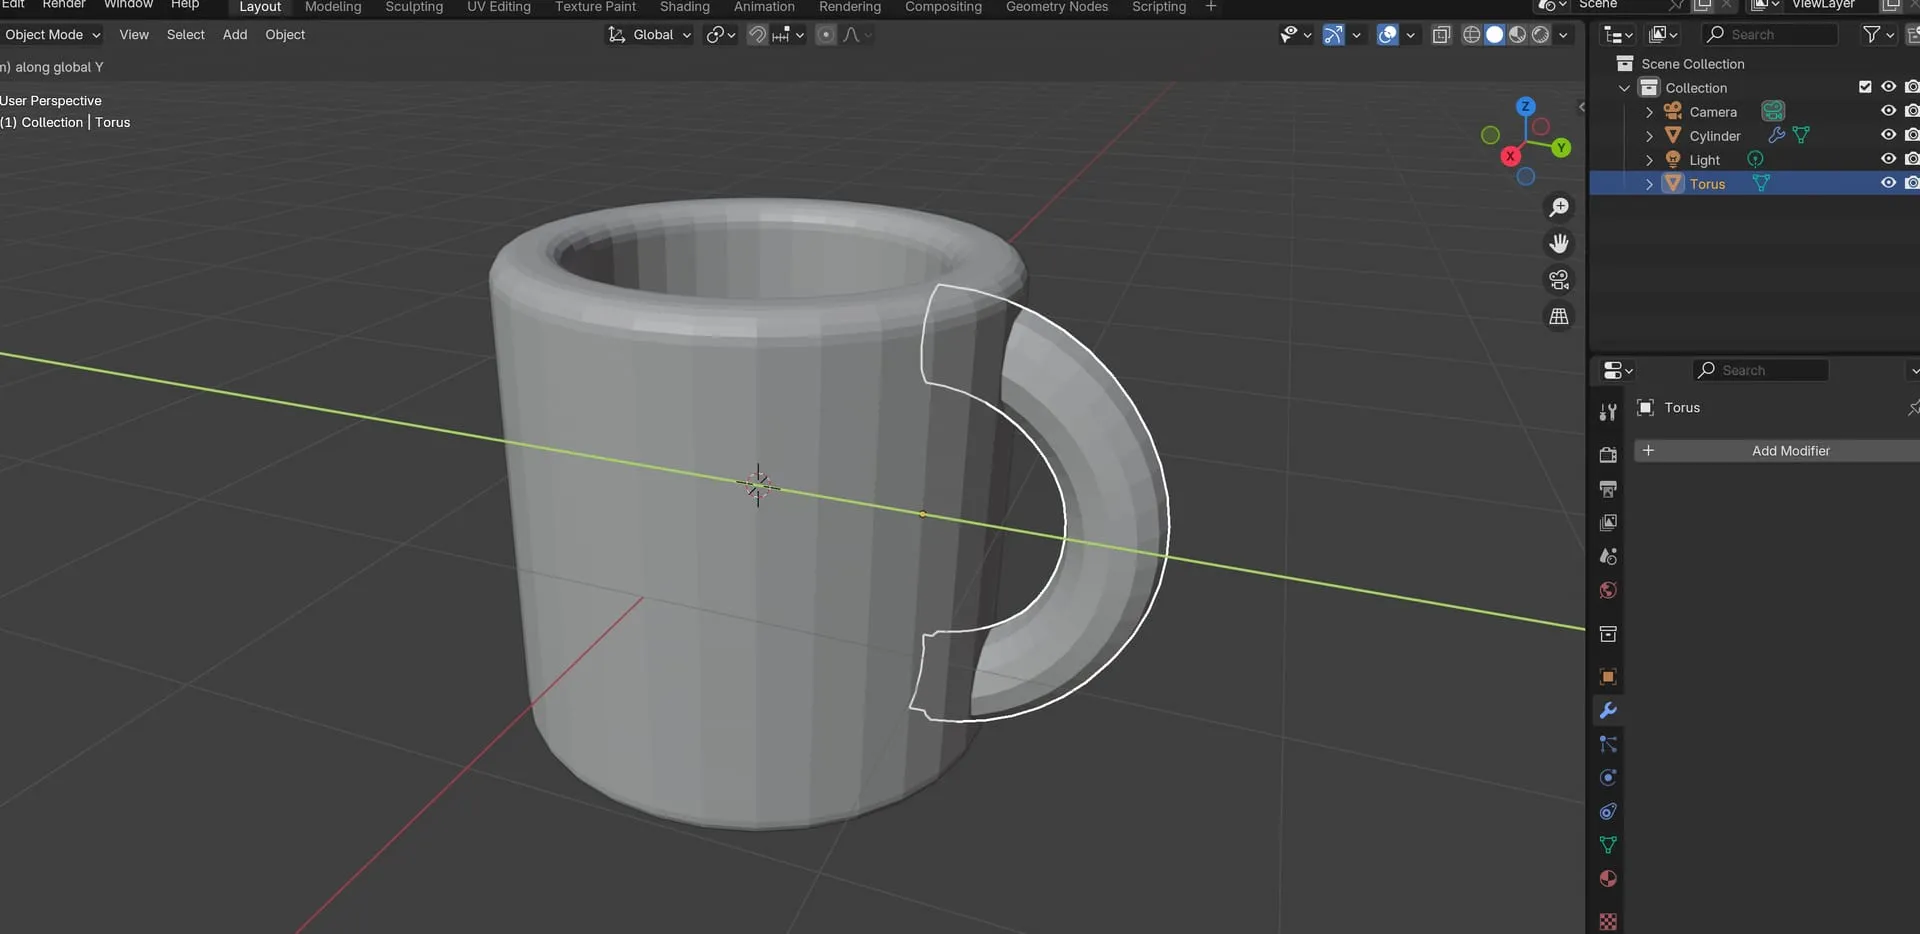
Press Tab and return to object mode. Now move the handle into position. Press G then Y and slide then handle to the right. Press S to scale the handle down to better match the cup size.

When you’re happy with the alignment, select the cup, hold Shift, then select the torus. Press Control > J to join the geometry into one object. You now have a coffee cup.