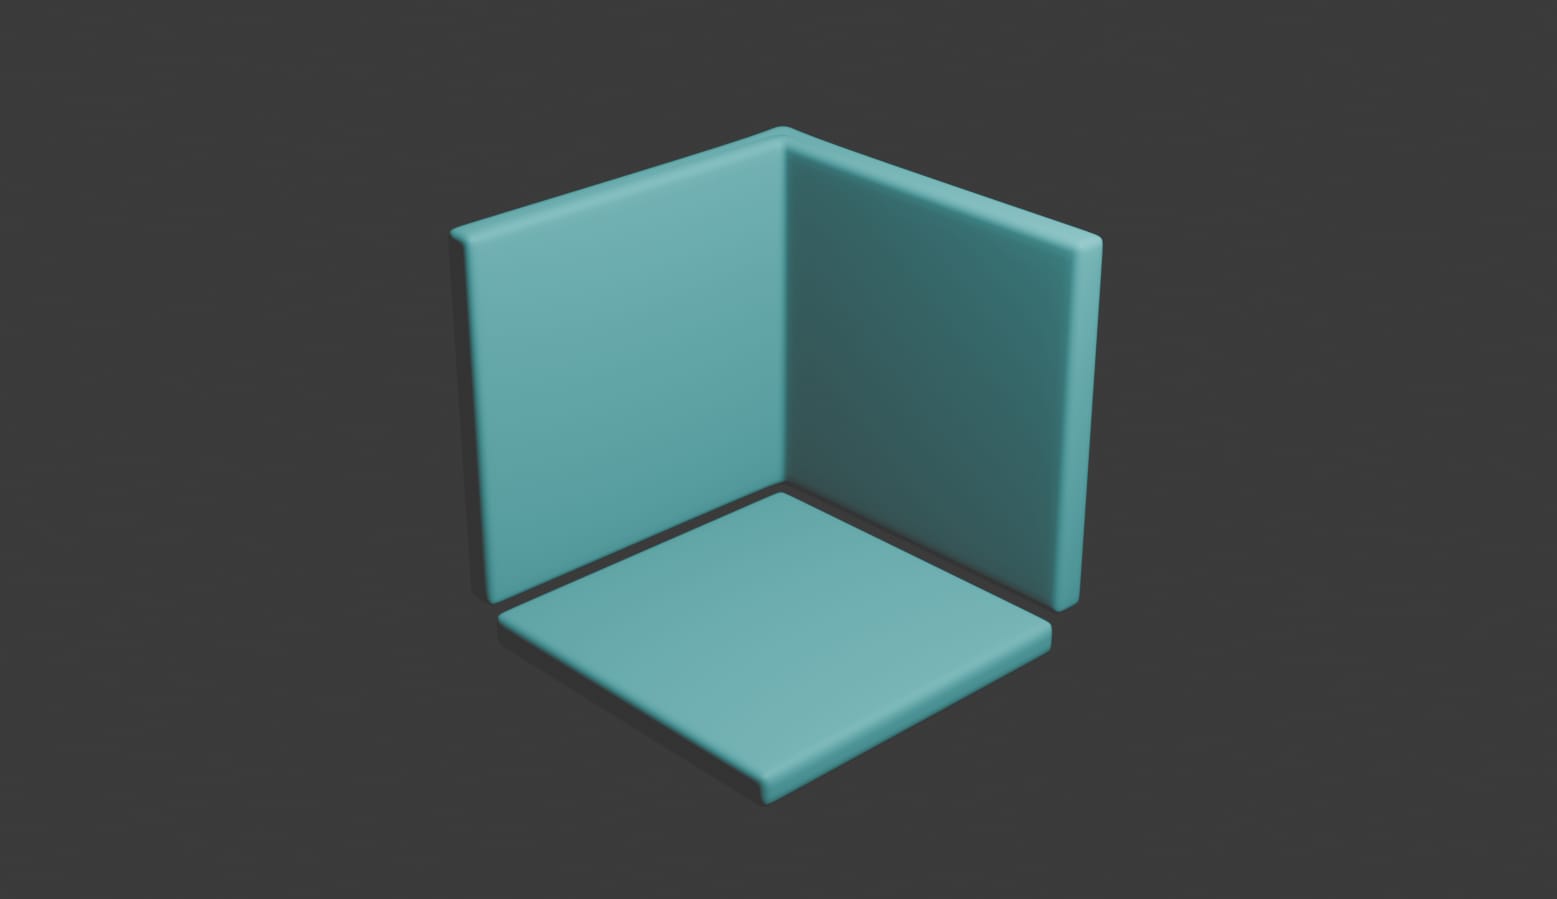
Wall and Floor: Working with Multiple Objects
Splitting the Cube
Open a new project. On the right sidbear under ‘collection’, click on cube. It’s currently one object right now. Press Tab to enter edit mode. Press 3 to enter face selection.
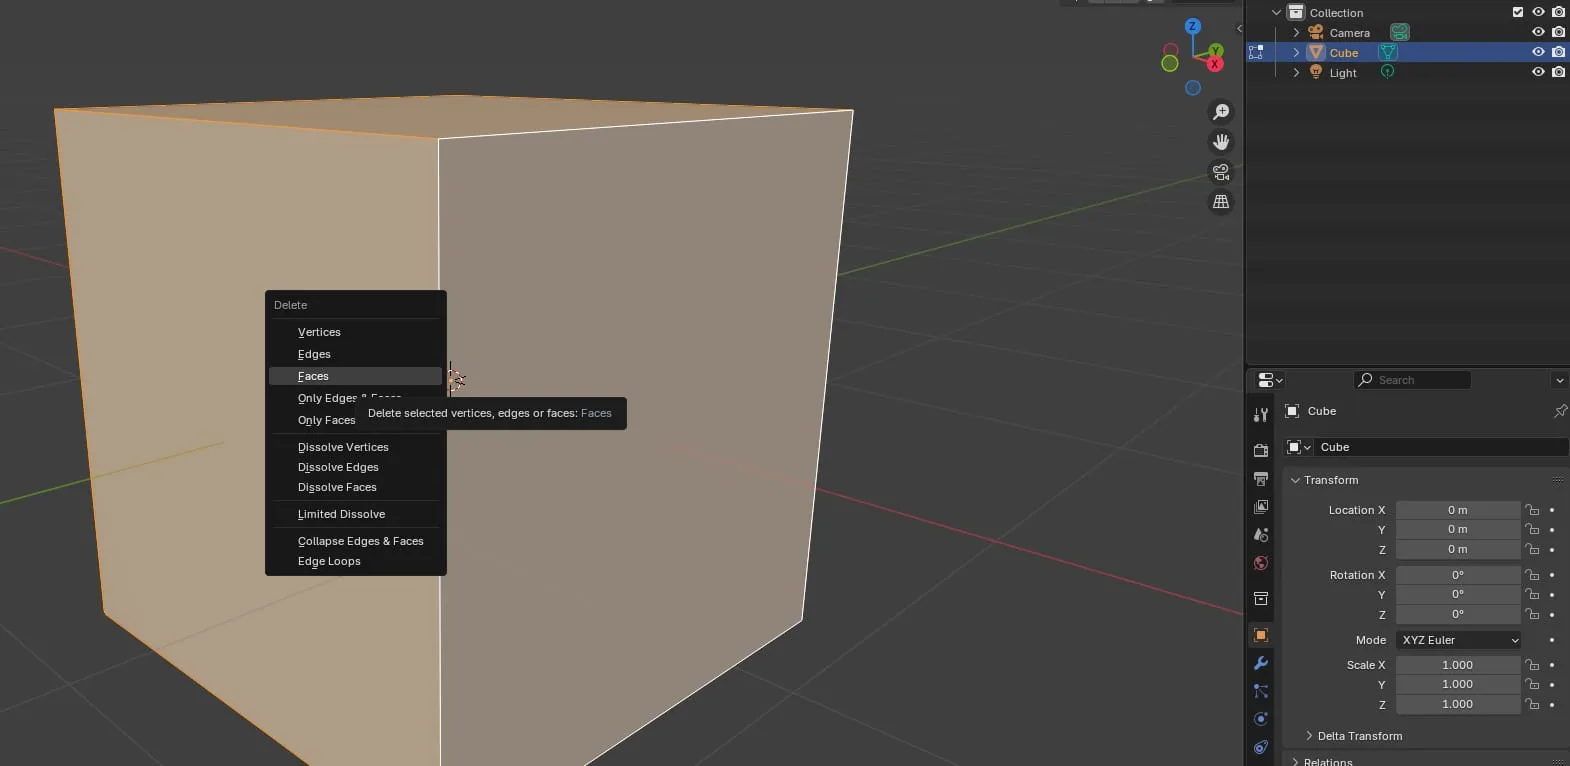
Click on the top face, hold Ctrl, and select the left and right face. Press X and select Delete Faces.
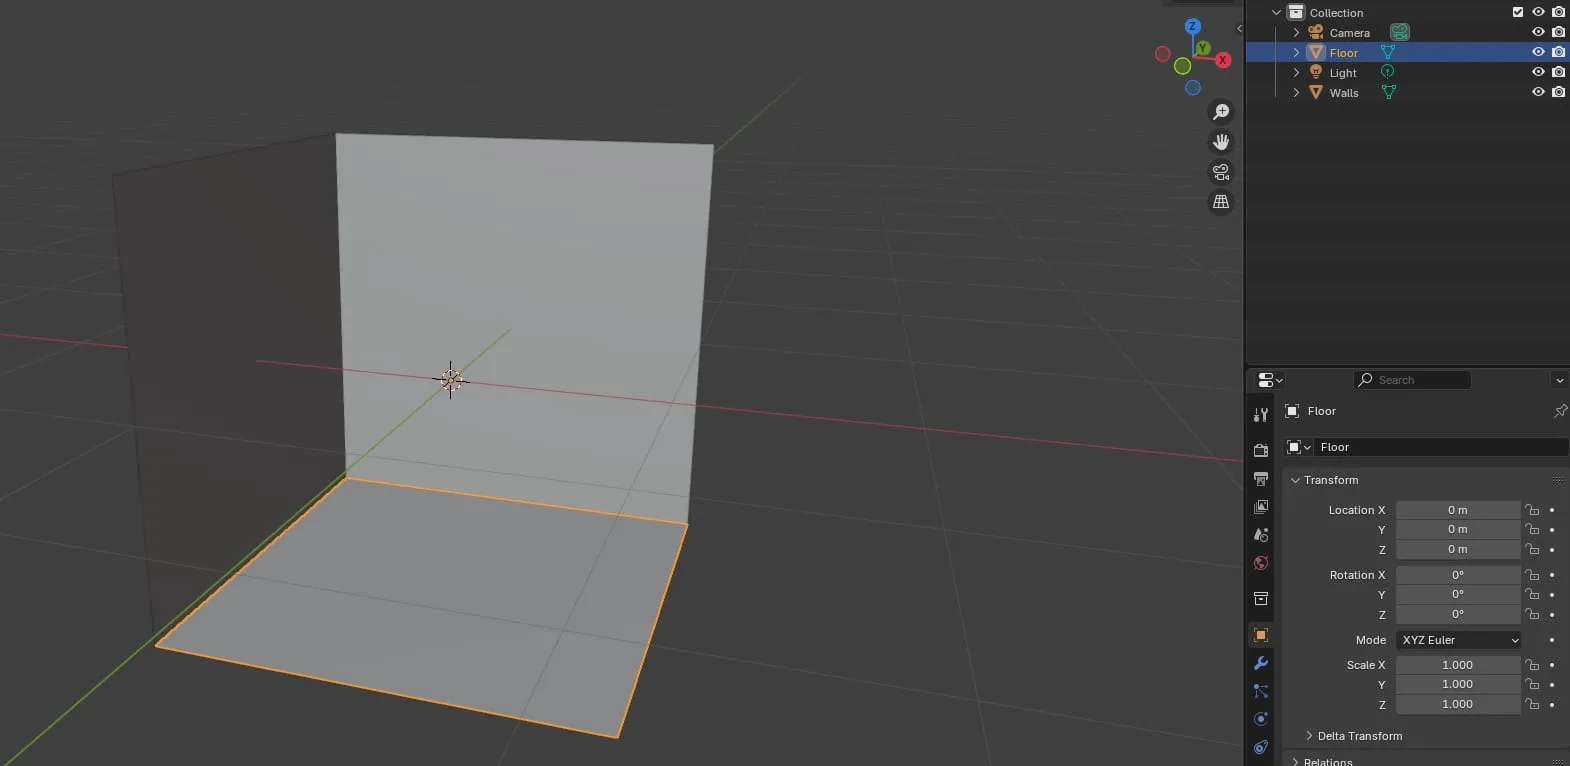
While still in edit mode, press 3 and select the bottom face of the cube. Press P and select Seperate by selection. Press Tab to return to object mode.
The sidebar will now show two objects named cube. If you click on the walls, the floor is not highlighted because it is a seperate object now. Rename the two object ‘Floor’ and ‘Wall’ to keep them organized.
Thicken the Walls
The walls are currently paper thin. Let’s add some thickness by using the Solidify modifier. In Object Mode, click on the walls and then find the blue wrench icon on the sidebar. Find the button called Add Modifier and type ‘Solidify’.
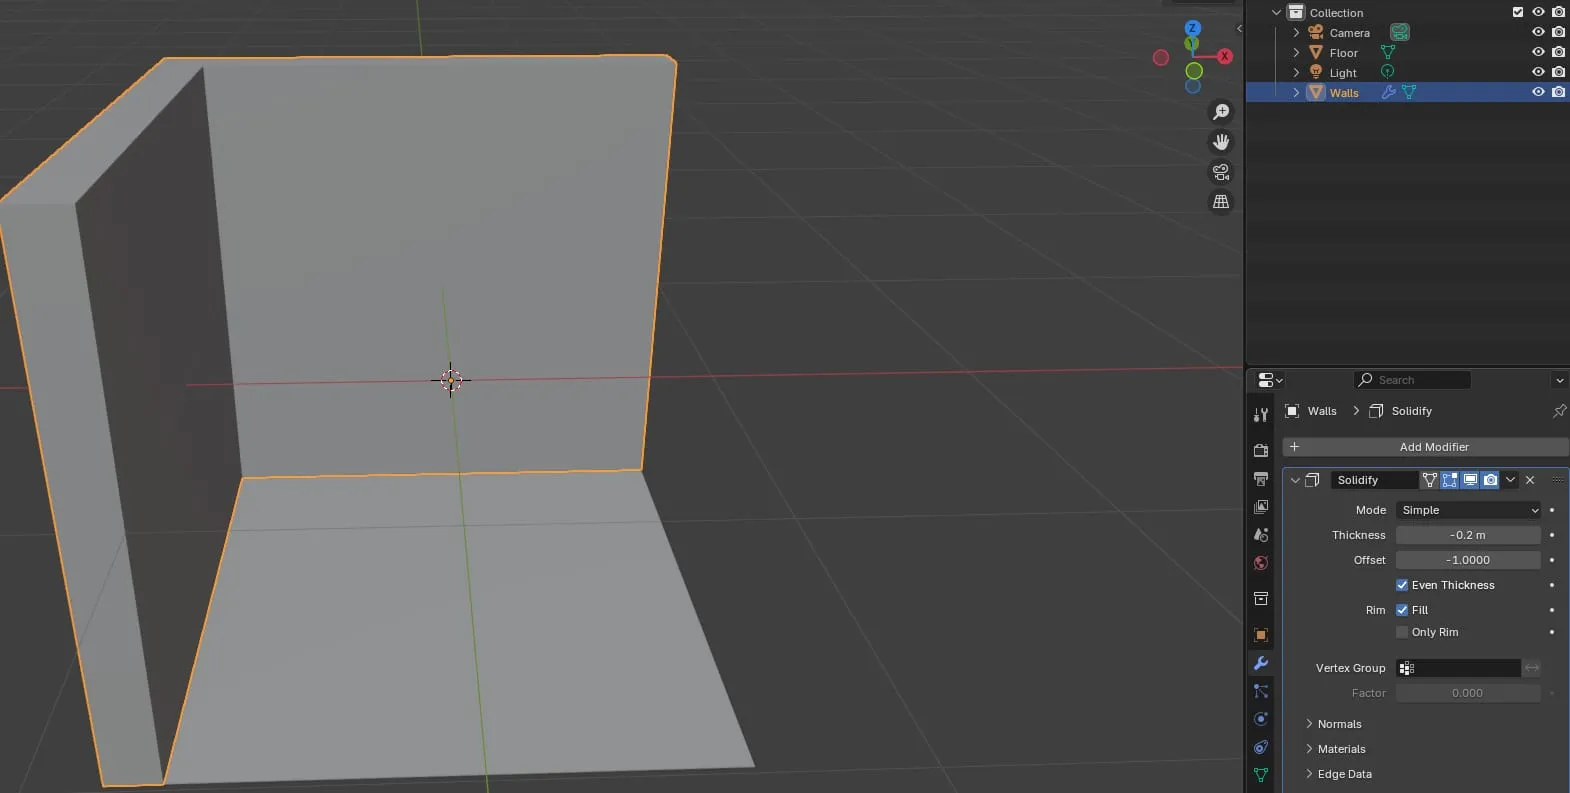
Change the ‘Thickness’ value to -0.2 m. The walls are now thicker but they’re uneven. Click the Even Thickness checkbox to make them even.
Copy your Modifiers to the Floor
We want the floor to have the same thickness as the walls. Instead of repeating your steps, you can save time by copying your Wall settings and applying them to the floor
In Object Mode, click the floor, then hold Ctrl and select the walls. Find the dropdown next to your current Solidifier modifier on the sidebar.
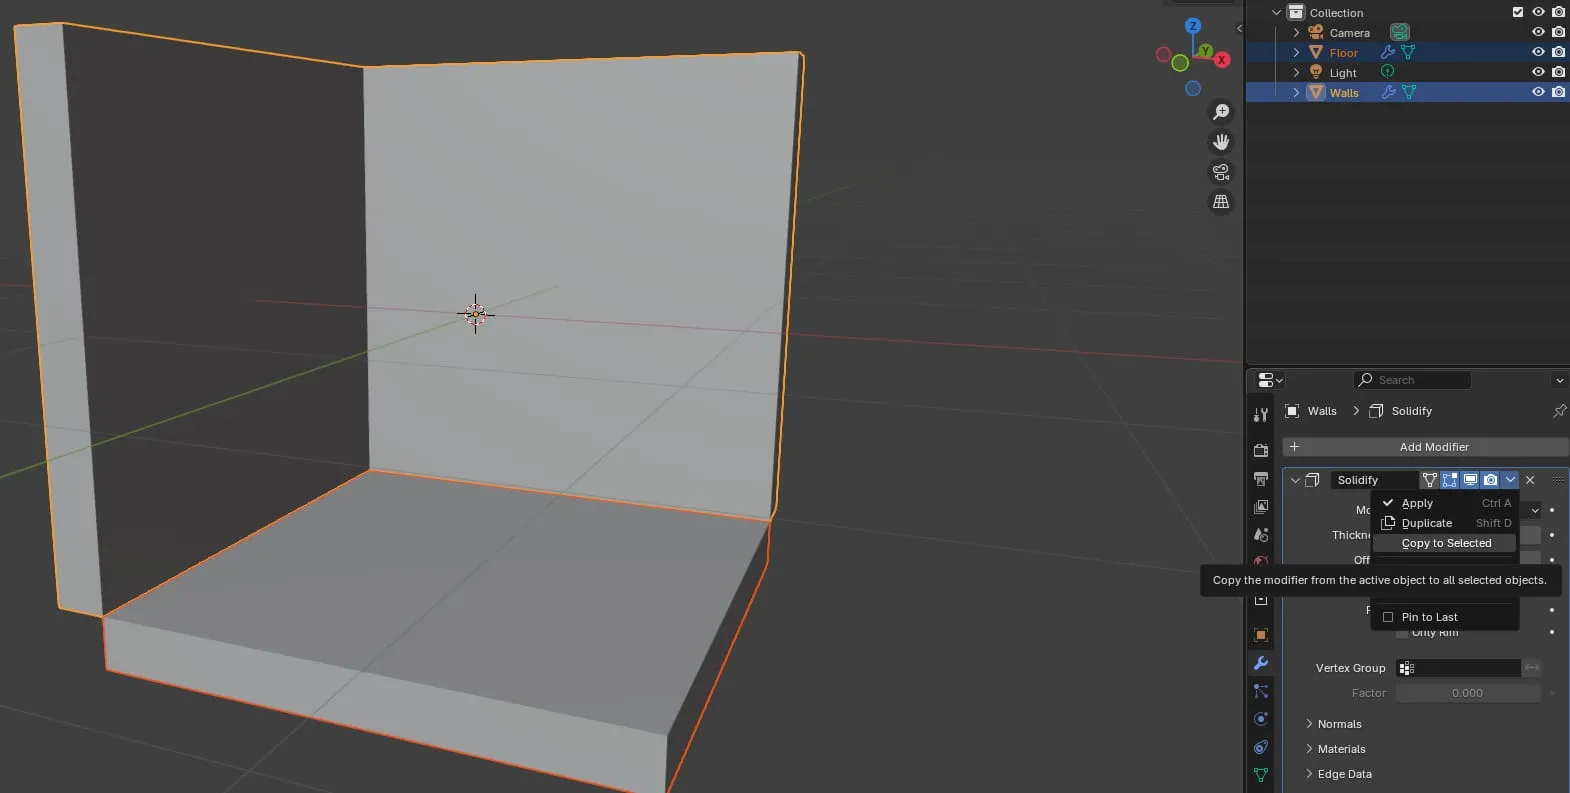
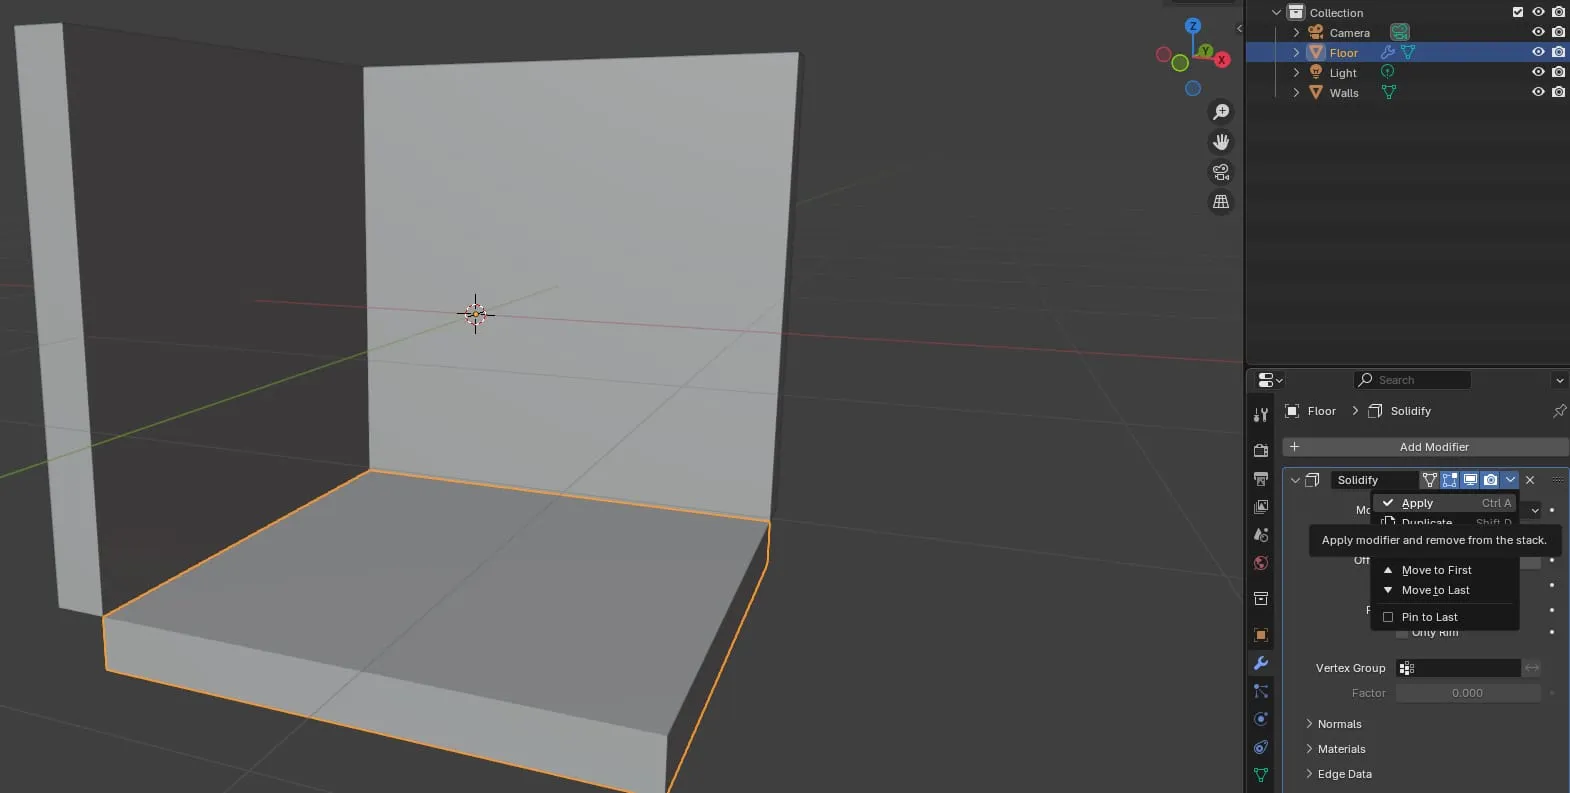
Under the dropdown, select Copy to selected and floors will now have the same thickness as the walls. You can change the thickness of the floors and the walls will not be effected because they are two seperate modfiers.
When you’re happy with both modifiers, press the same dropdown arrow for each and select Apply.
